
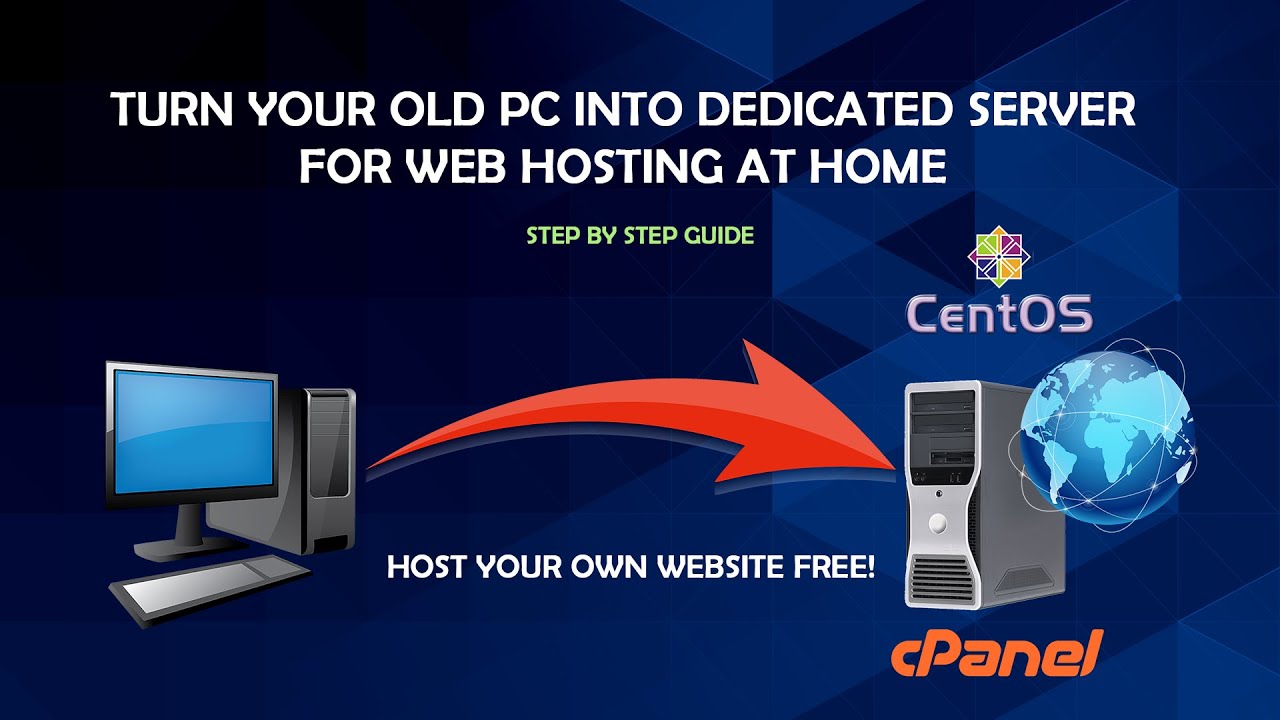
How to Make Your PC as a Web Hosting Server
Welcome to the world of web hosting! In this blog, we will discuss how to make your computer a web hosting server. Web hosting is a process of making your website accessible to the public on the internet. It involves renting a web server from a hosting service provider and storing your website files on it.
Having a web hosting server of your own is a great way to have full control over your website and to customize it as per your needs. It also gives you the freedom to choose your own hosting provider and select the features that you want for your website.
Looking for a premium game server hosting provider, look no further than https://godlike.host. Servers are built with the highest quality standards in mind, and team of experts is always on standby to help you with any questions or concerns you may have. They offer a wide range of features and options to choose from, so you can be sure that your server will be perfect for your needs.
In this blog, we will discuss the steps involved in setting up your computer as a web hosting server. The steps covered in this blog include setting up your computer as a web server, configuring the web server, and setting up the hosting environment. We will also discuss some of the important considerations that you should keep in mind while setting up a web hosting server.
So, let’s get started and learn how to make your computer a web hosting server.
What you will need
If you are looking to turn your PC into a web hosting server, you will need a few essential components in order to make it happen. Below, we have outlined the items you will need to get started.
- A Domain Name: A domain name is an address for your website that customers type into their browsers to get to your site. You will need to purchase a domain name from a domain registrar.
- Web Hosting: Web hosting refers to the service that enables your website to be accessible on the internet. You will need to purchase a web hosting plan from a web hosting provider in order to get your website online.
- A Static IP Address: This is a unique address used to identify your computer on the internet. It is important to have a static IP address in order to ensure that your website is always accessible.
- A Router: A router connects your computer to the internet. You will need to purchase a router that is compatible with your internet service provider.
- Software: You will need to install web hosting software on your computer in order to create and manage your website. There are many different types of software available, and you should research the options to determine which one is best for your needs.
- Security: You will need to ensure that your website is secure from malicious attacks. This can be done by using a firewall, antivirus software, and other security measures.
By following these steps, you will be well on your way to turning your PC into a web hosting server. With the right components and software, you can make your website available to the world.
Configuring your router
Welcome to the world of web hosting! Setting up your own web hosting server can seem daunting, but it’s really not that difficult. In this blog post, we’ll discuss how to configure your router for web hosting.
Before we get started, let’s briefly review what a router is and why we need to configure it. A router is a device that connects two or more networks together, such as your home network and the Internet. In order for you to be able to access your web hosting server from anywhere in the world, your router needs to be configured to route traffic from the Internet to your local network.
Now that you understand the basics of routers and why we need to configure them, let’s get started.
The first step is to configure your router’s IP address. This is the unique identifier that your router uses to communicate with other networks. To find your router’s IP address, you can check the documentation that came with your router or use a tool like ipconfig in Windows or ifconfig in Linux.
Once you have your router’s IP address, you can configure your router’s port forwarding settings. Port forwarding is a feature that allows you to forward traffic from the Internet to your local network. This is necessary in order for you to be able to access your web hosting server from the Internet. To configure port forwarding, you’ll need to access your router’s settings page. This can usually be done by typing in the router’s IP address into your web browser.
Once you’re on your router’s settings page, you’ll need to configure the port forwarding settings. Depending on your router, the exact steps may vary, but usually you’ll need to specify the port or ports that you want to forward, the IP address of your web hosting server, and the protocol (e.g. TCP or UDP).
Once you’ve configured your port forwarding settings, you’ll need to restart your router. This will ensure that the changes take effect. After your router is restarted, you should be able to access your web hosting server from outside of your local network.
And that’s it! You’ve successfully configured your router for web hosting. With just a few steps, you can now run your own web hosting server and make it available to the world!
Installing server software
Creating your own web hosting server is a great way to have full control over your website and its content. To get started, you will need to install the necessary server software. Installing server software can be a complicated process, but following the steps below will help you get everything set up correctly.
- Choose Your Server Software:
The first step to setting up a web hosting server is deciding which server software you want to use. Popular options include Apache, IIS, and Nginx. Each option has its own advantages and disadvantages, so you will need to do some research to determine which one is right for you. - Download and Install:
Once you have chosen your server software, you will need to download it and install it on your computer. The installation process will vary depending on the software you are using, but instructions are usually provided with the software. - Configure the Server Settings:
Once the server software is installed, you will need to configure the server settings. This includes setting up user accounts, setting port numbers, and configuring other security settings. Again, the specific settings will vary depending on the software you are using. - Install Necessary Applications:
In order to provide web hosting services, you will need to install any applications necessary for hosting websites. This can include things like databases, web servers, content management systems, and other web development tools.
Installing server software can be complicated and time-consuming, but it is an essential step for setting up a web hosting server. By following the steps outlined above, you should be able to get your server up and running in no time.
Creating a website
Creating a website is not as difficult as it may seem. In fact, with the right guidance and resources, anyone can get started and make a successful website. In this blog post, we will discuss the five steps to creating a website, starting with how to make your computer a web hosting server.
Setting up a Web Server
The first step to creating a website is setting up a web server. This is basically a computer that is specifically designed to serve web pages to visitors who access the website. While you can purchase a dedicated web server for your website, it is often much more cost-effective to make your computer a web hosting server. To do this, you will need to install a web server application such as Apache, IIS, Nginx, or Lighttpd. Once installed, you can configure the web server software to serve your website.
Choosing a Domain Name
The next step is to choose a domain name. This is the name that visitors will type into their browser to access your website. When selecting a domain name, it is important to choose something that is short, easy to remember, and relevant to your website. You can purchase a domain name from a domain registrar, such as GoDaddy or Namecheap.
Designing the Website
Once you have a web server and a domain name, you can start designing the website. This involves creating the HTML, CSS, and JavaScript code that will make up the website. There are various tools available to help you with this process, such as Wix, Weebly, and WordPress.
Adding Content
The next step is to add content to the website. This can include text, images, videos, and other forms of media. It is important to make sure that the content is relevant to the topic of the website and is engaging for visitors.
Launching the Website
The final step is to launch the website. This involves uploading the website files to the web server and making the website live. Once the website is live, it can be accessed by anyone with an internet connection.
These are the five steps for creating a website. With the right guidance and resources, anyone can create a successful website. Good luck!

Testing your server
When it comes to setting up a web hosting server, testing is an essential part of the process. After all, you want to make sure that your server is running as expected before you start hosting your website. In this blog, we’ll take a look at the six steps you should take to test your server before you start hosting your website.
Step 1: Check the Server’s Connectivity
The first step is to make sure that your server is properly connected to the internet. To do this, you can use a ping test to check the latency between your server and the rest of the web. You can also use traceroute to make sure that your server is routing traffic as expected.
Step 2: Test the Operating System
Once your server is connected to the internet, you should test the operating system to make sure it is running properly. If you’re using Linux, you can use the command line to test the system’s performance. If you’re running Windows, you can use the Performance Monitor to check the system’s memory, processor, and disk utilization.
Step 3: Test the Server’s Security
The next step is to make sure that your server is secure. You should run a security scan to make sure that your server is not vulnerable to any malicious attacks. You should also make sure that your server is up to date with the latest security patches.
Step 4: Test the Server’s Performance
Once your server is secure, you should test its performance. You can do this by running a benchmark test to check the server’s response time and throughput. You can also use stress tests to check the server’s ability to handle multiple requests.
Step 5: Test the Server’s Features
The next step is to make sure that all the features of your server are functioning as expected. This includes testing the server’s email, FTP, and database capabilities. You can also test the server’s scripting language and web server configuration.
Step 6: Test the Server’s Support
The final step is to test the server’s support. You should make sure that your server has the support you need in case something goes wrong. You should also check the server’s documentation to make sure that it is up to date and comprehensive.
These are the six steps you should take to test your server before you start hosting your website. Testing your server is essential to make sure that your server is running properly and that it is secure and reliable. By taking these steps, you can ensure that your hosting experience is a success.
This is a simple guide how to setup Localhost for Windows.
Conclusion
As we have seen in the previous sections, setting up your own web hosting server for your PC can be a complicated but rewarding process. Depending on the type of site you wish to host and the amount of resources you have at your disposal, the process can vary greatly. In conclusion, there are a few important steps you must take to successfully configure your PC as a web hosting server.
First, you should decide which type of web hosting server you want to set up. Do you need a shared hosting server, a virtual private server, or a dedicated server? After making this decision, you should research the best web hosting options for your needs. There are numerous options available and it’s important to understand the differences between them.
Next, you should purchase or lease the necessary hardware and software components to create your web hosting server. Depending on the type of server you’ve chosen, you may need to buy a dedicated server, a set of web hosting software, or both. Additionally, you should ensure your operating system is capable of hosting your website and can handle the necessary traffic.
Finally, you should configure the web hosting server according to your specific needs. This will involve setting up the web server, database, and other components necessary for your website. Additionally, you’ll need to configure your domain name, configure your email accounts, and set up any other additional features you need.
By following these steps, you should be able to successfully configure your PC as a web hosting server. If you need additional help, there are numerous online tutorials, books, and support forums available to assist you. Good luck!